Stonehenge Exercise
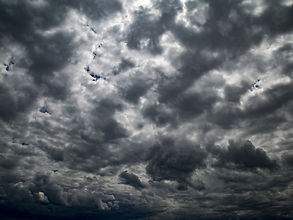

In this exercise I have removed the sky from a Stonehenge image and changed it with one that didn't exist there in the first place


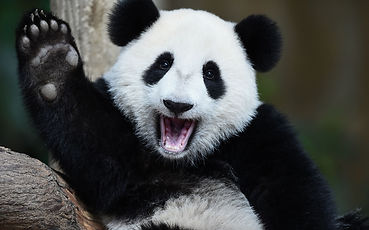

Animal Hybrids

To make an animal hybrid you first need two images of animals that are well photographed because then you need to use the pen tool to cut out the chosen animals head that you want to take and then place it over the other animals head. Using the opacity slider makes the process of aligning the heads much easier. I have also used the feather and expand modifier to get a much smoother shape around the animals head. Once placed over the chosen animal I then used the clone tool to clean up the areas around the head, which I found sometimes challenging as the background were quite complex on the images I have used. I have used this method to create both animal hybrids above and below.

Green Screen Exercise


In this exercise I changed a green screen background from a Lady with another image of a sky. To do this I used the colour range tool to select an outline of the Lady in which I created a new layer from and then used the reveal selection modifier which changed the green screen background the the blue sky image. I have also used the HUE modifier to blend in the parts of the image that still had a green glow effect from the green screen background. The final result is on the right.

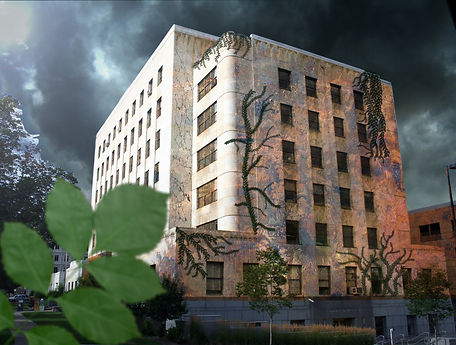
Apocalyptic Building Exercise


In this exercise I was given three images (above) where I have to combine all of these images into one apocalyptic building. To create this I used all the techniques that I have previously learned such as the green screen removal where I have changed the background of the building image with a much more sinister sky. I have also used new modifiers such as the overlay blender mode on the rust so it blends in with the building. I have also used my own assets that I have downloaded from the internet, like the crack decals and the mossy decals on my building. Finally I have added a branch in which I have used the blur tool to blend it in, as well as creating a lens flair to the image.
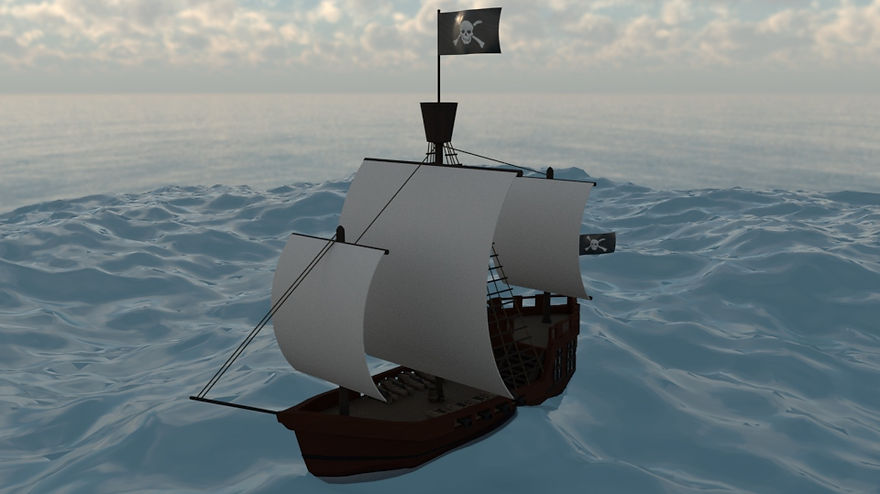
Fake News Assignment


For this assignment (Fake News) I came up with the idea of creating a sci-fi London in the future. I gained inspiration for this final image from how in the future a nights sky could be similar to this as the galaxy andromeda is getting closer to our galaxy each second and that in the future it will be this close to us that we can see it in the sky, To make this image I have combined four images together using the knowledge that I have learned from using photoshop so far in the course.
Introduction to Maya
In today's lesson I got an introduction into how to use Maya a 3d modelling software. I got taught how to move about in the viewpoint and also all the different methods of moving around an object and also importing a object into the scene of course. For my first exercise, I was tasked with creating a building out of just using the move, rotate and scale tool. I came up with the idea of making a Roman temple as this type of building is very easy using the parameters set.

Spaceship

Using Maya again, I sculpted this spaceship by just starting with a cube. To change the cube into this spaceship I have altered the faces and edges using the selection tools for them and also using the move tool, etc. Once I had finished making the spaceship I applied a HDRI image to the background and also a chrome finish to the spaceship to make it look more real.
Coffee Cup


Wine Glass


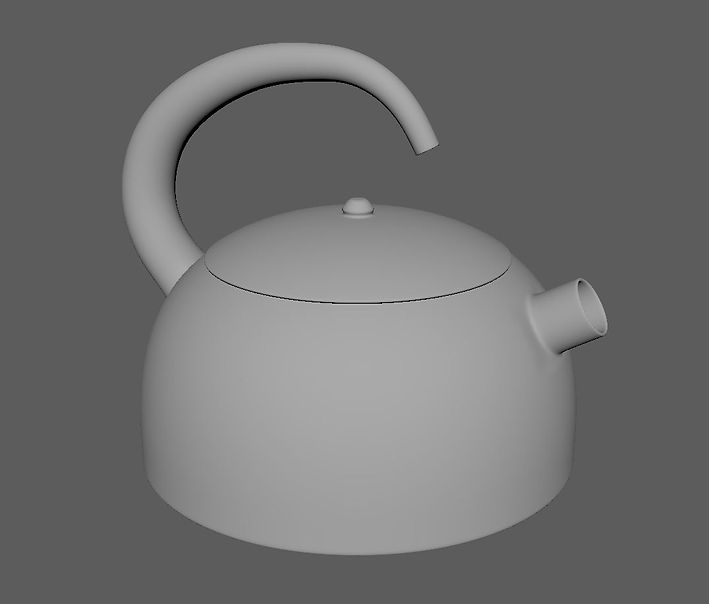
Kettle

Lighting and Materials In Maya
The first lighting that I used was the 3D Sky dome lighting which creates a 360 degrees box around the object in the center and allows you to change the material inside the box and I changed my to a HDRI texture of a field.

In the scene view

Rendered View
The second lighting that I used was the physical lighting which is similar to the 3d sky box however in this lighting mode you can adjust a lot more of how the sun is positioned and the intensity of it to make it less realistic.

Rendered View
The third lighting that I used was the area lighting which creates one source of light rather than surround the entire area with lighting, this sort of lighting is very good when wanting to focus light on just one object rather than the entire scene. There are also settings to change the shape of the area lighting and in mine I changed it to a circle.

In the scene view

Rendered View
Here I have played around with the material "aiStandardSurface" on my coffee cup that I have previously created and I create two materials here. One of them is a standard glass material as with some coffee cups they are glass and with others they are glazed ceramics. I have also used the sky dome lighting in the background with a HDRI texture in the background.

Rendered View
Below is the same coffee cups as above but I have added a cloth texture to it, to make it more interesting.

Rendered View
Material Maps In Maya
In today's lesson I learnt about how to use 2d and 3d texture maps in maya and apply them into a existing model and then render them. Below are the different maps that I have played with in maya.

Ramp Map

Checkers Map

Crater Map
James Bond Gadget

Closed

Open
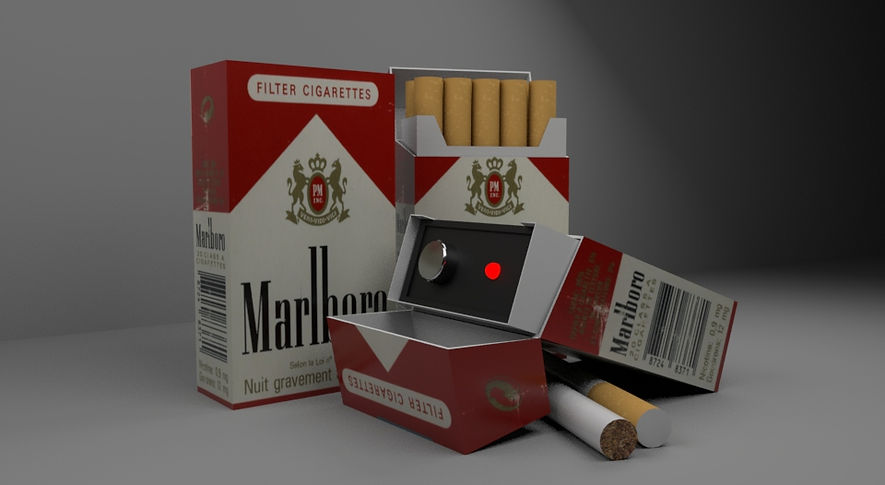
For my James Bond gadget assignment I came up with the idea of creating a listening device inside a cigarette box as this can be easily hidden. Above is the box opened and closed and then below them is the final render with also an addition of cigarettes in the scene.
UV Mapping
In today's lesson I learnt about how to use the UV Editor and why to use it as when placing textures onto a oddly shaped object it will most of the times look very deformed and odd. When using the UV editor I split the object into different segments using the UV cut tool in which I then adjusted them manually to fit the desired texture.

Before UV Editing

After UV Editing

Texture Object (Mushroom)
PBR Shader Networks
In today's lesson I learnt about PBR shader networks as to why you use them and also how to use them properly. For my task, I had to make a realistic brick wall using all six of the textures that make up the PBR these include the albedo, specular, roughness, bump, normal and also the displacement map. Once all of those maps are connected into the main material it creates a very realistic looking brick as seen below and also the hypershade viewpoint.

PBR Shader Networks

PBR Brick Wall
New York Rooftop


Time Leap